Web Installer
The web installer at https://install.espgeiger.com/ is the quickest and easiest way to get up and running with ESPGeiger.
From the Web installer a number of predefined builds can be installed -
Pulse
Two pulse builds are made available. The installer auto-picks the right binary for whichever chip family (ESP8266 / ESP32 / ESP32-S3) is connected.
- Pulse - interrupt-based counting on all chip families. Safe default that works regardless of how a tube’s pulse is wired.
- Pulse - PCNT (ESP32 / ESP32-S3) - opt-in hardware pulse counter build. Lower CPU overhead, but requires the tube’s pulse to be clean enough for the PCNT peripheral to latch reliably. Use this if you are confident in your wiring and want maximum performance; fall back to the standard Pulse build if counts look low or noisy.
Serial
A single unified serial build supports all serial counter types. After flashing, select your counter type (GC10, GC10Next, MightyOhm, or ESPGeiger) from the Config page. ESP8266, ESP32 and ESP32-S3 are all detected automatically.
- Serial
Hardware
Builds for specific Geiger Counter models and other hardware projects
- ESPGeiger-HW
- CAJOE-IOT GM
ESPGeiger Log
Firmware versions for the ESPGeiger Log, providing Pulse and Serial variants.
- Pulse
- Serial
Test
Features a number of test builds for various devices.
Installation
The installation process is powered by ESP Web Tools
The web installer requires the PC/Mac version of either Chrome or Edge.
Make sure the relevant drivers are installed for your device. If your device isn’t detected, the installer page offers some guidance.
-
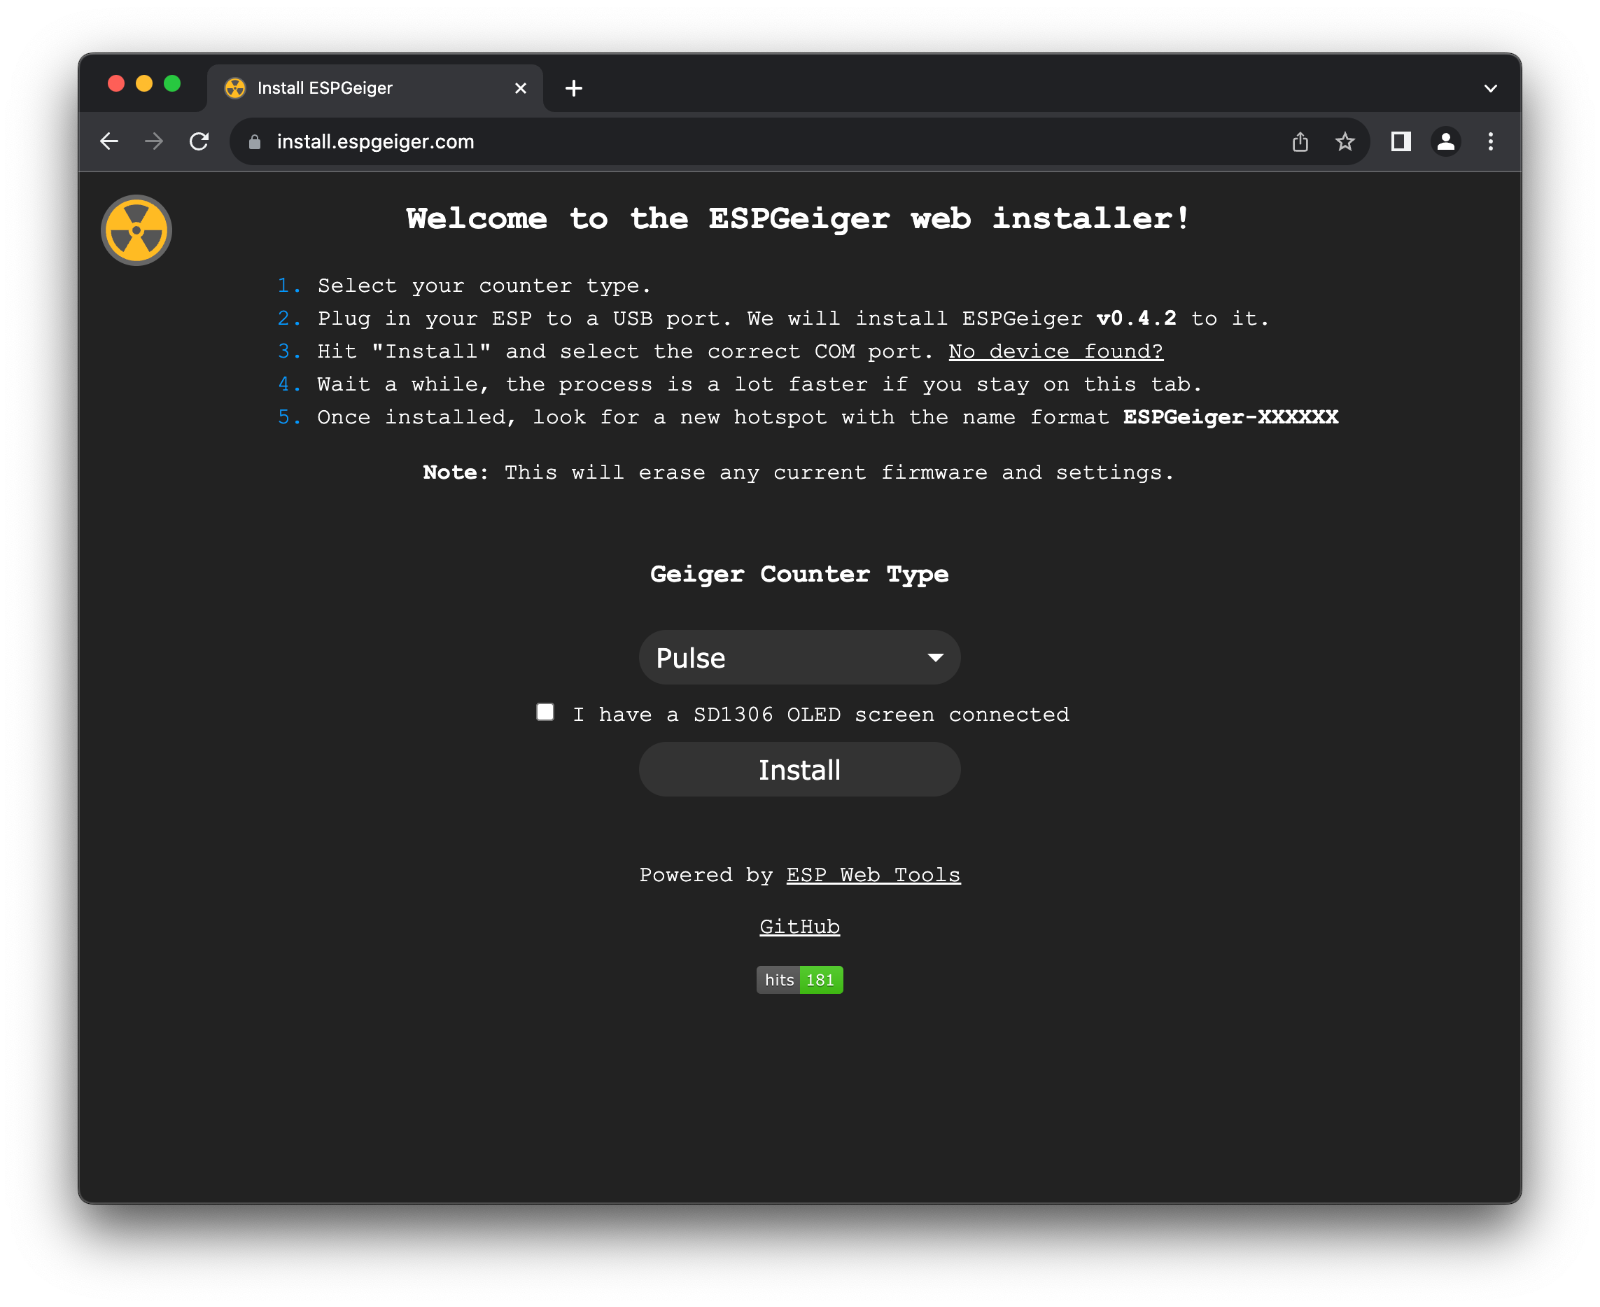
Select the relevant Geiger Counter Type you wish to install firmware for and where available, if the OLED variant should be used.
-
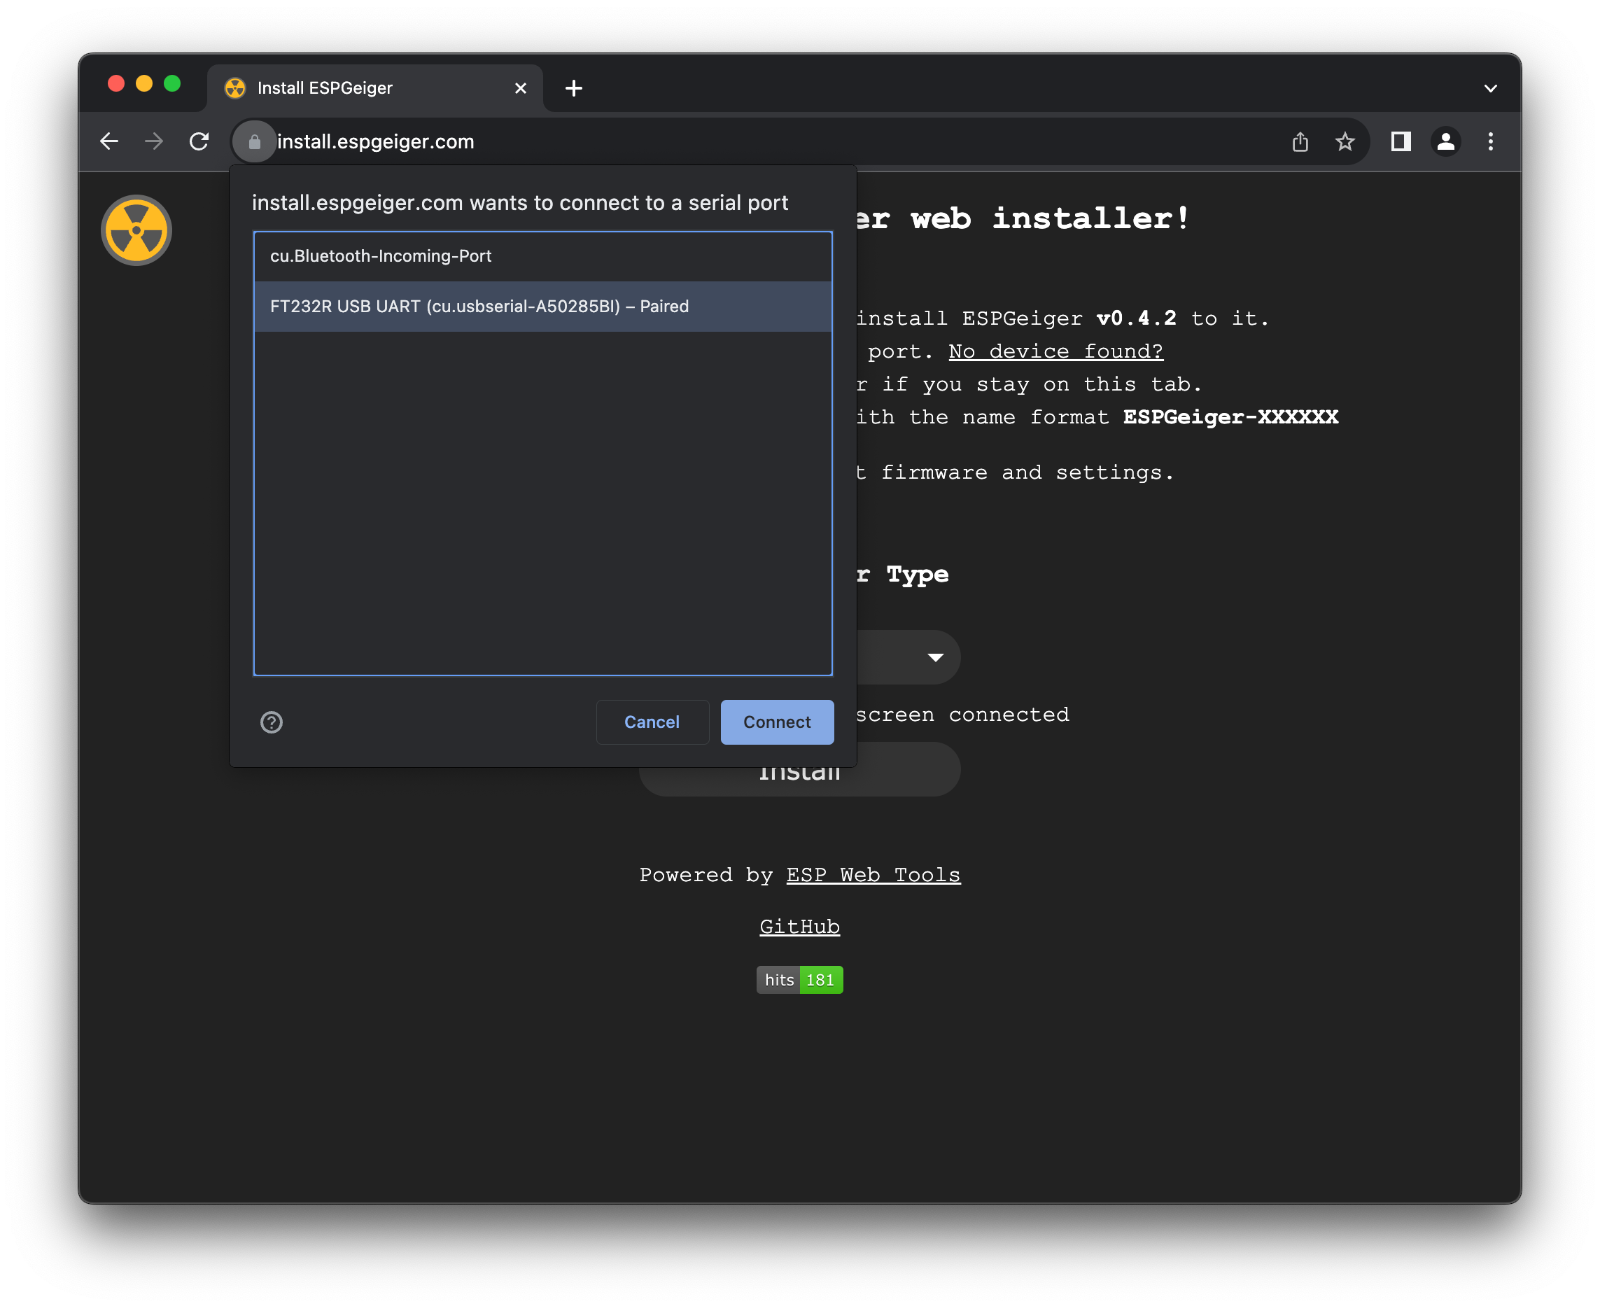
Connect your ESP device to your PC.
-
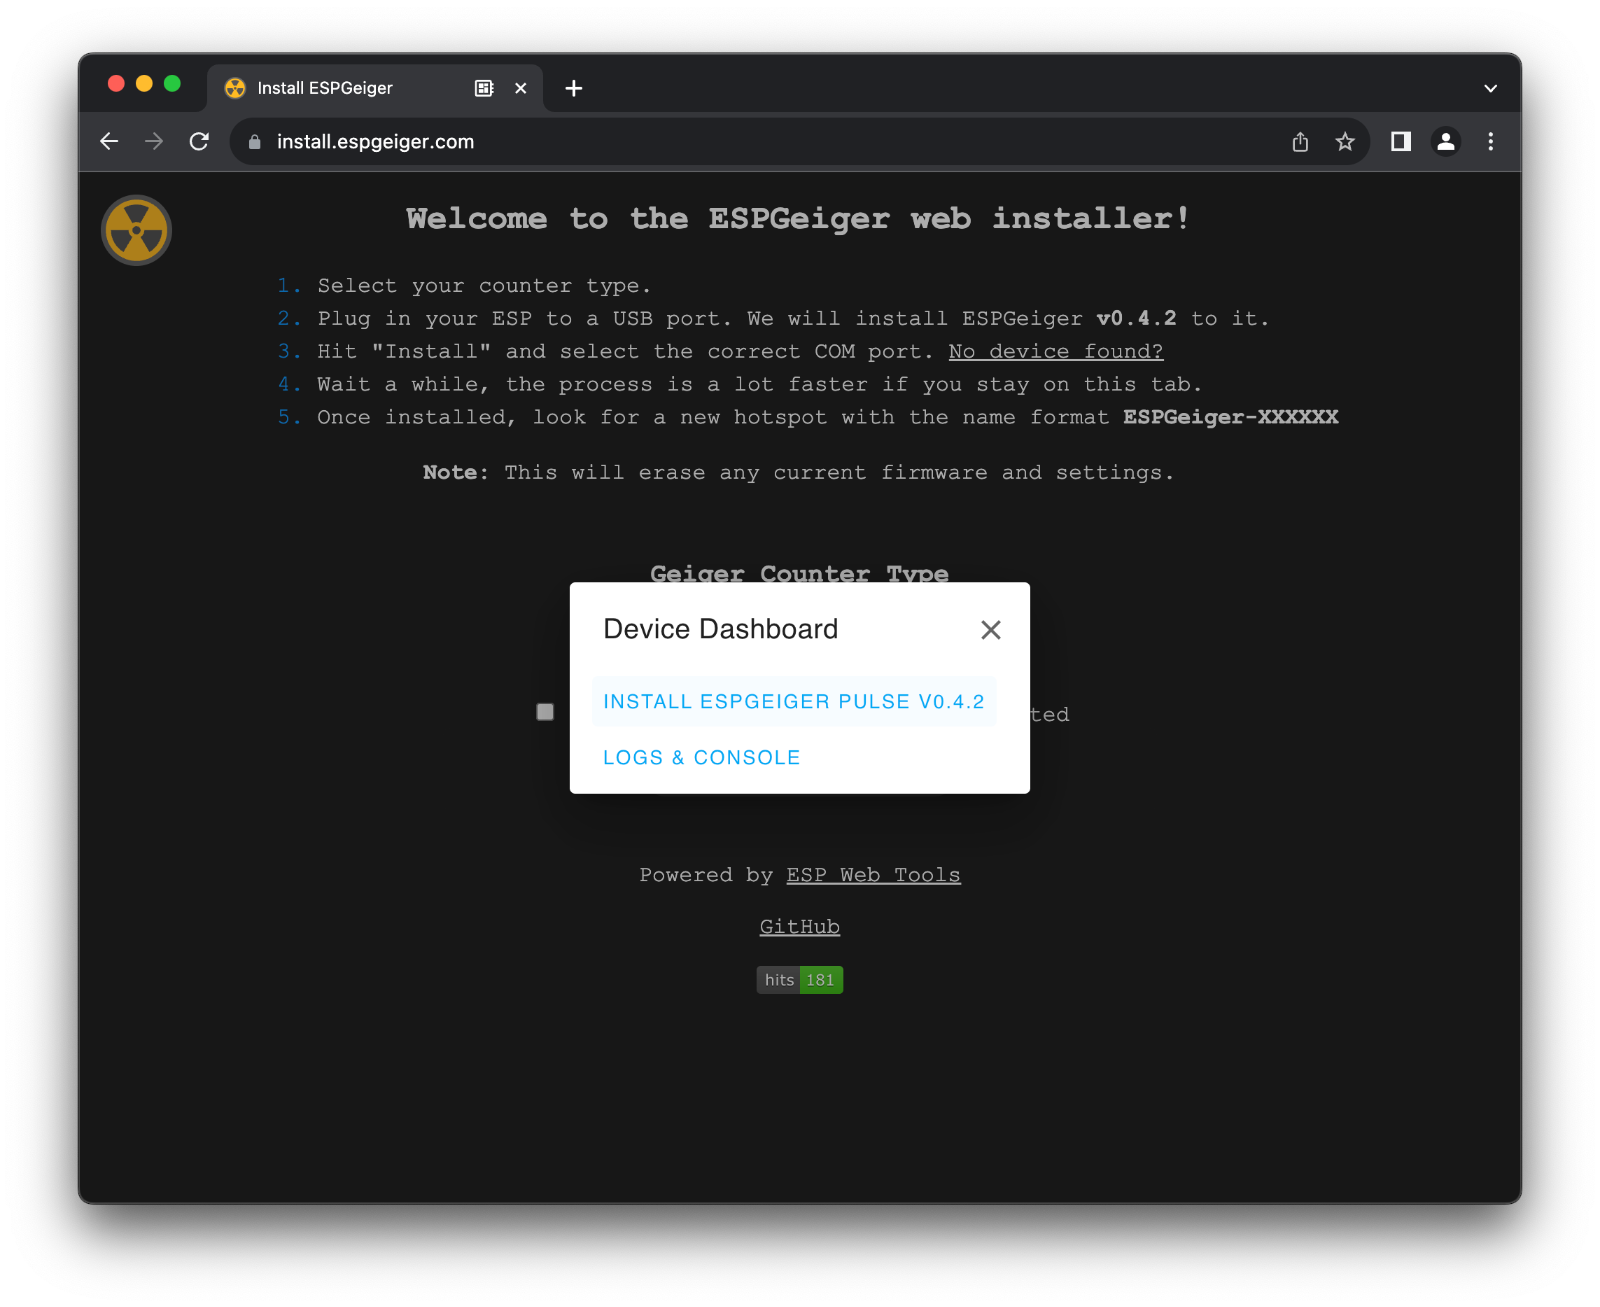
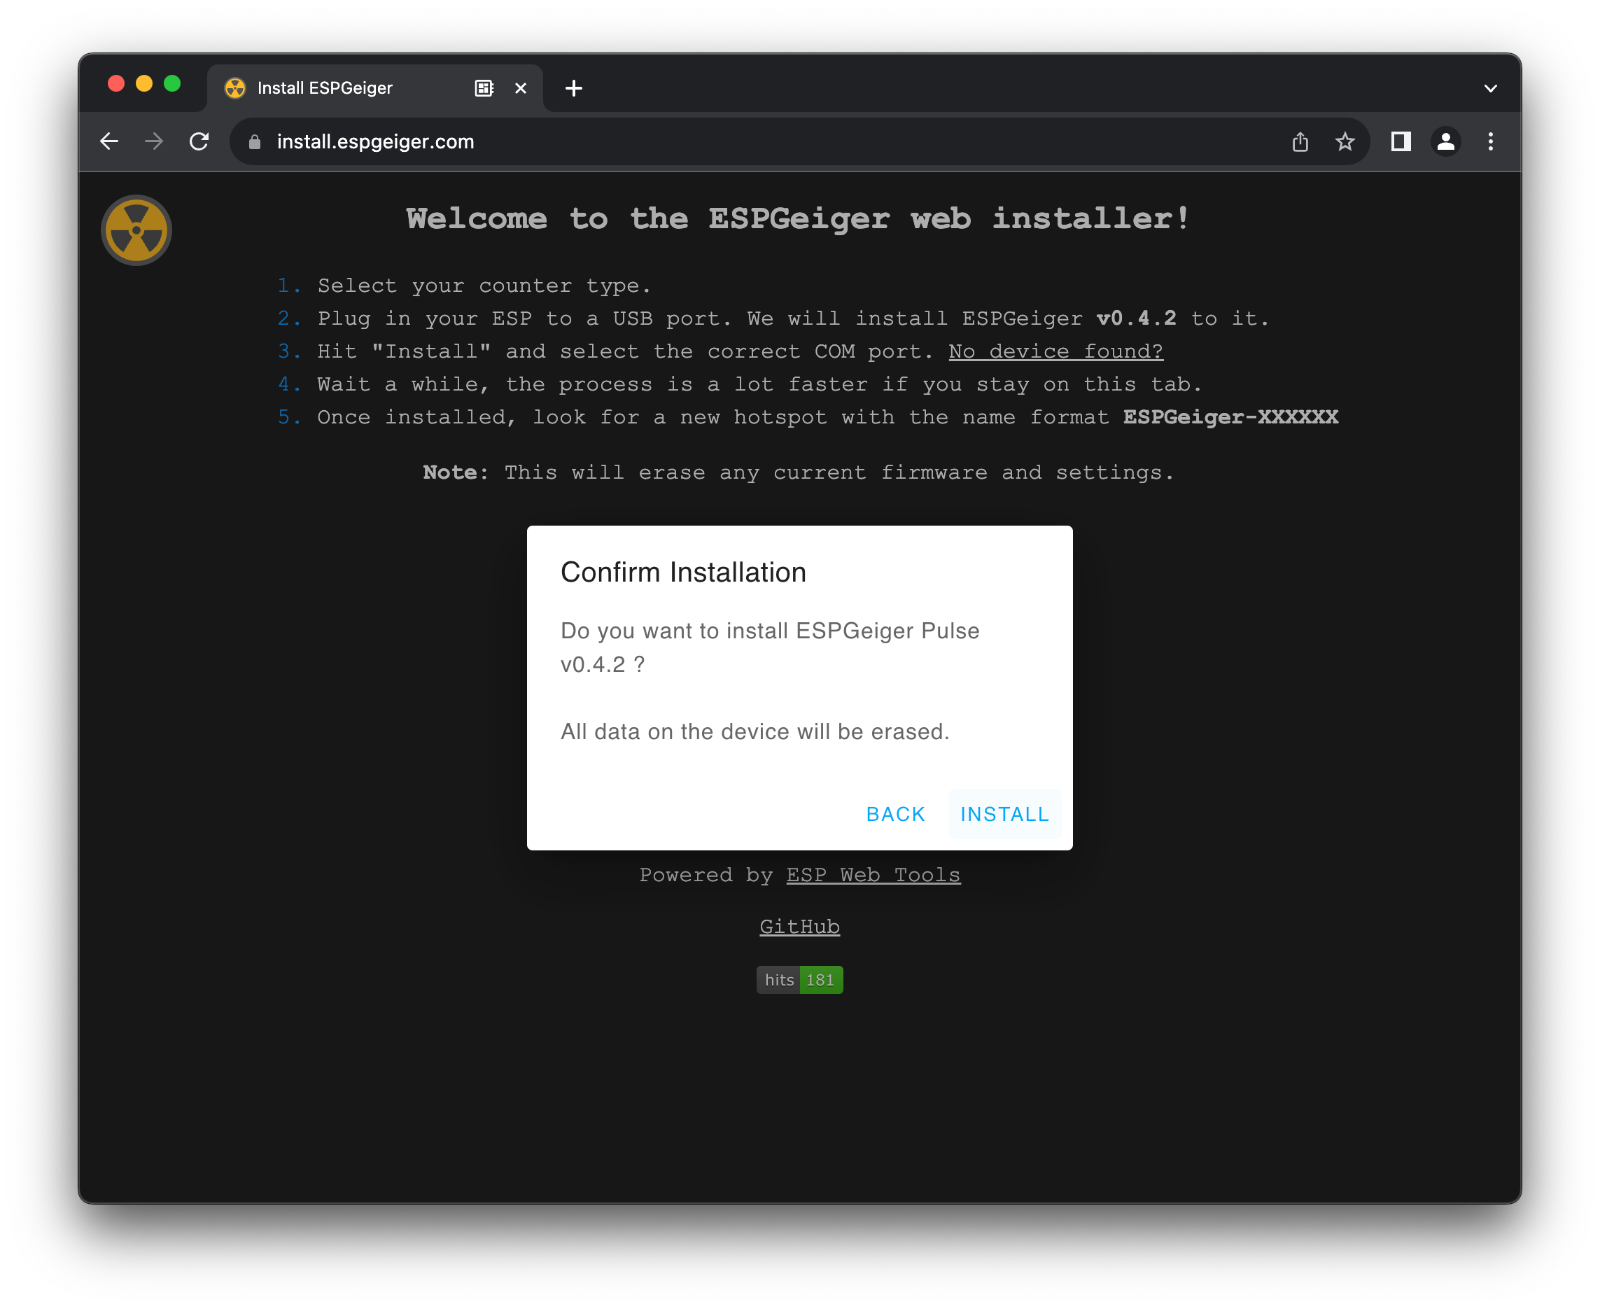
Click Install
- Confirm the version to be installed
- If this is the first install it is recommended to erase the device as well. This will remove any settings.

- Confirm options
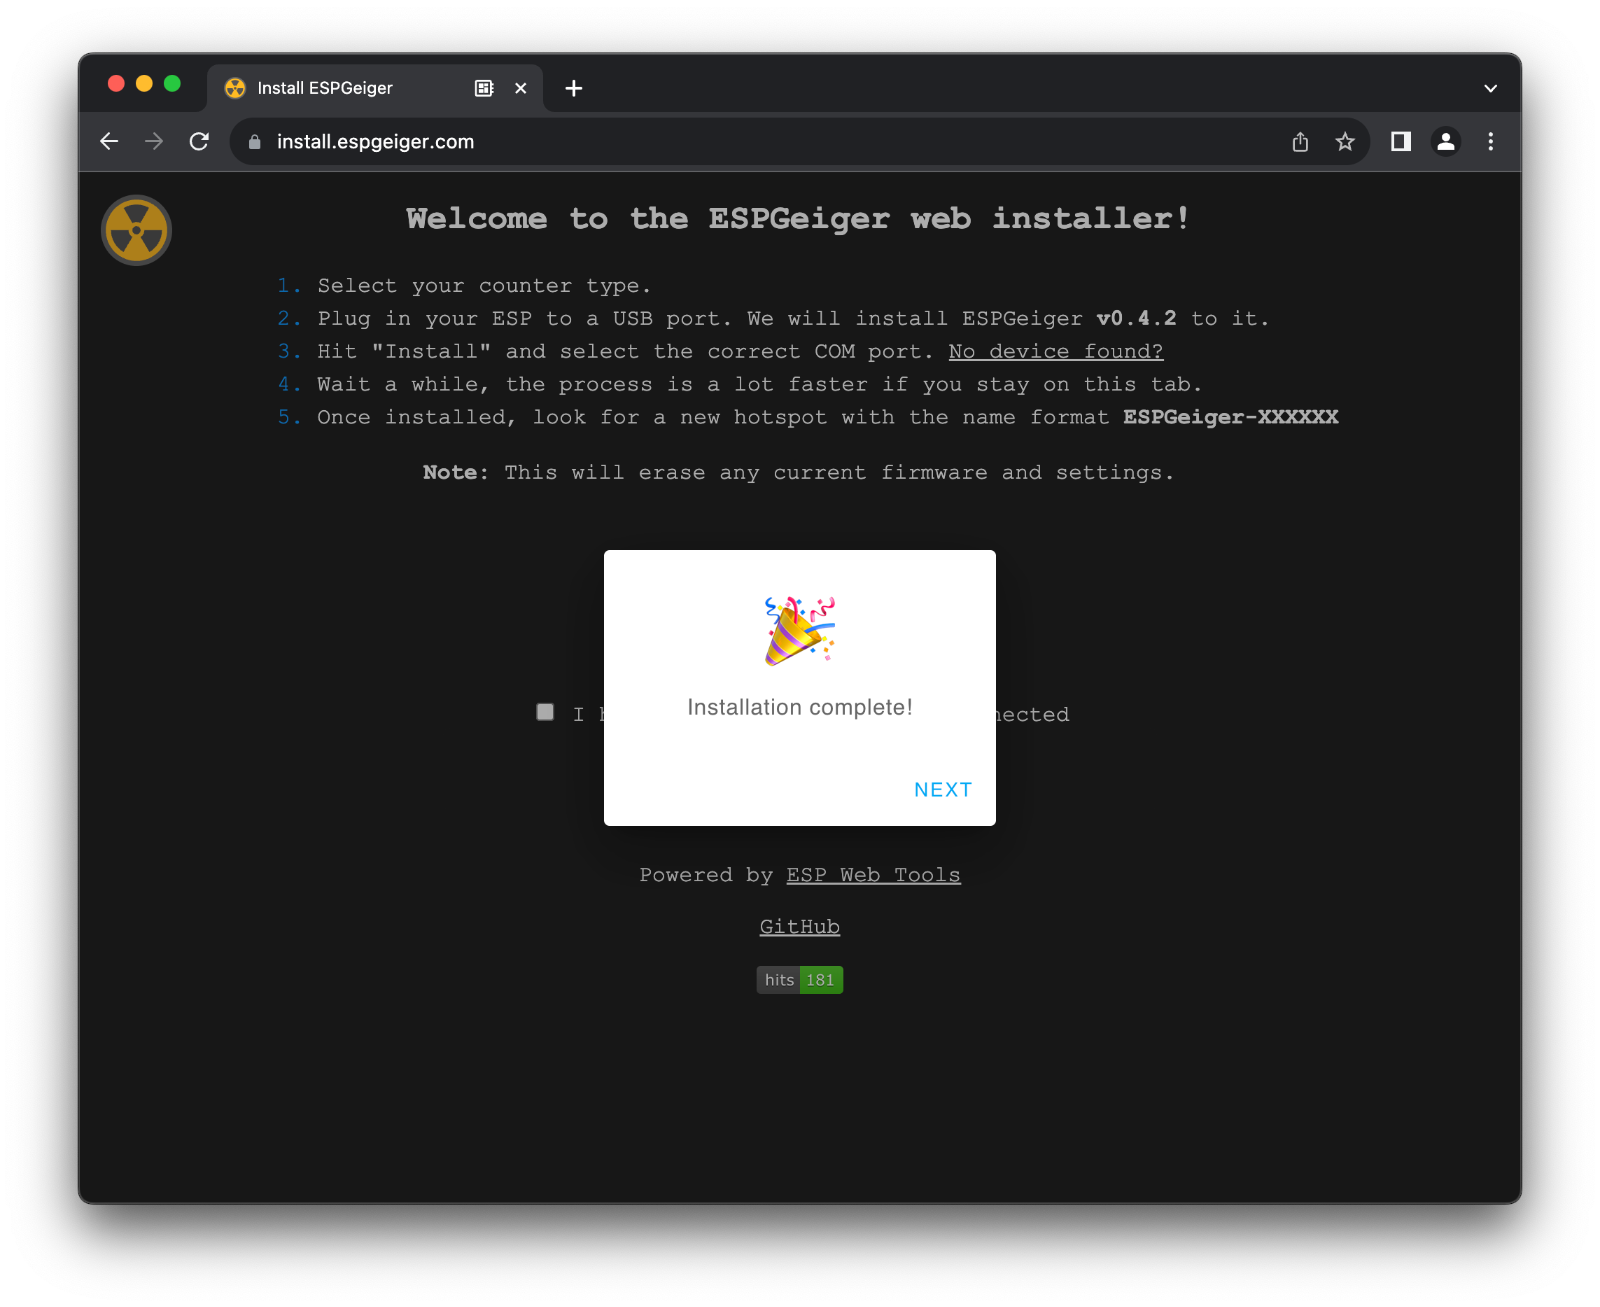
- Await the install, this can take several minutes
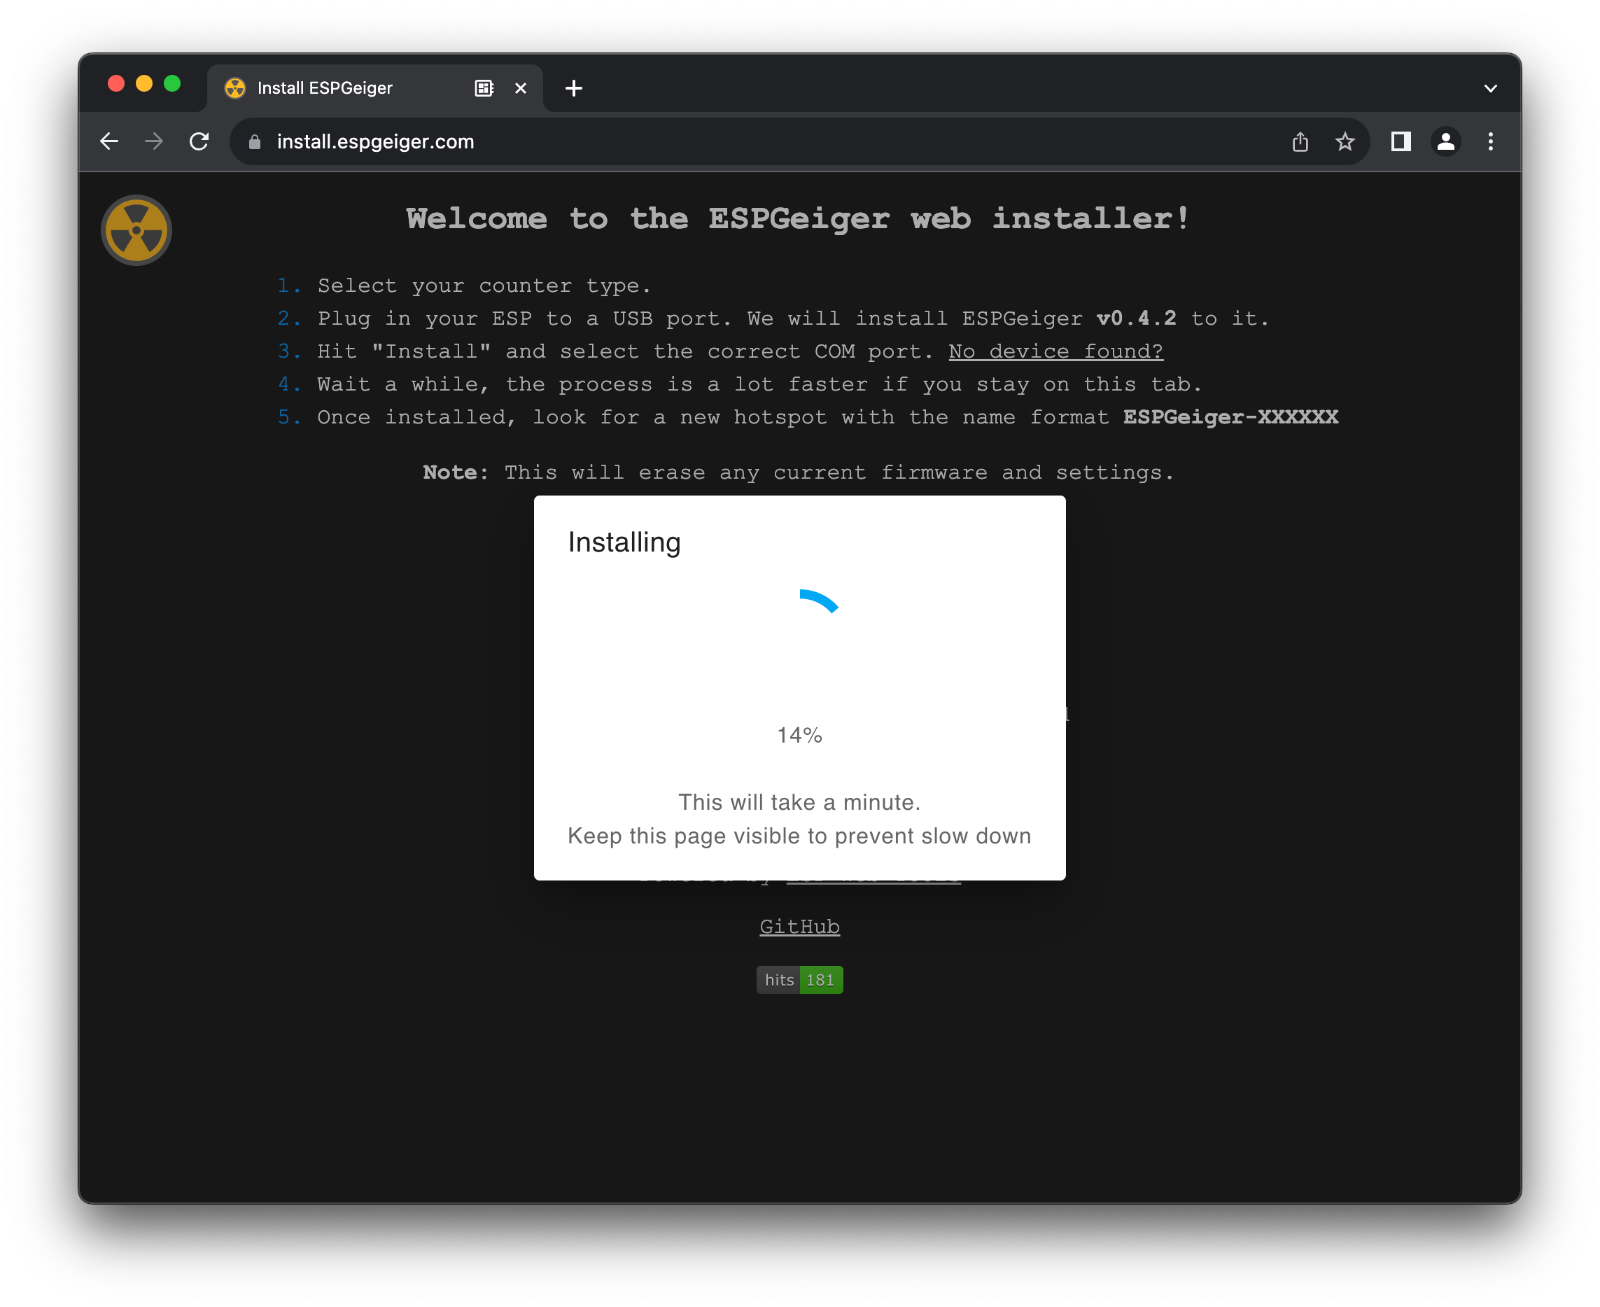
- Completed. ESPGeiger is now installed. The indication light on the ESP will be lit permanently until the WiFi hotspot is configured.